English
 русский
 Español
 عربى
عربىThe industrial meat tumbler is a workhorse in the food processing industry, a piece of equipment that's essential for everything from marinating and curing to tenderizing and coating. Used correctly, it can transform the texture and flavor of meat, yielding products that are juicier, more tender, and consistently delicious. But like any powerful tool, its effectiveness depends on proper technique. This guide will walk you through the correct way to use an industrial meat tumbler, ensuring you get the most out of this valuable machine.
Content
What is an Industrial Meat Tumbler and Why is it So Effective?
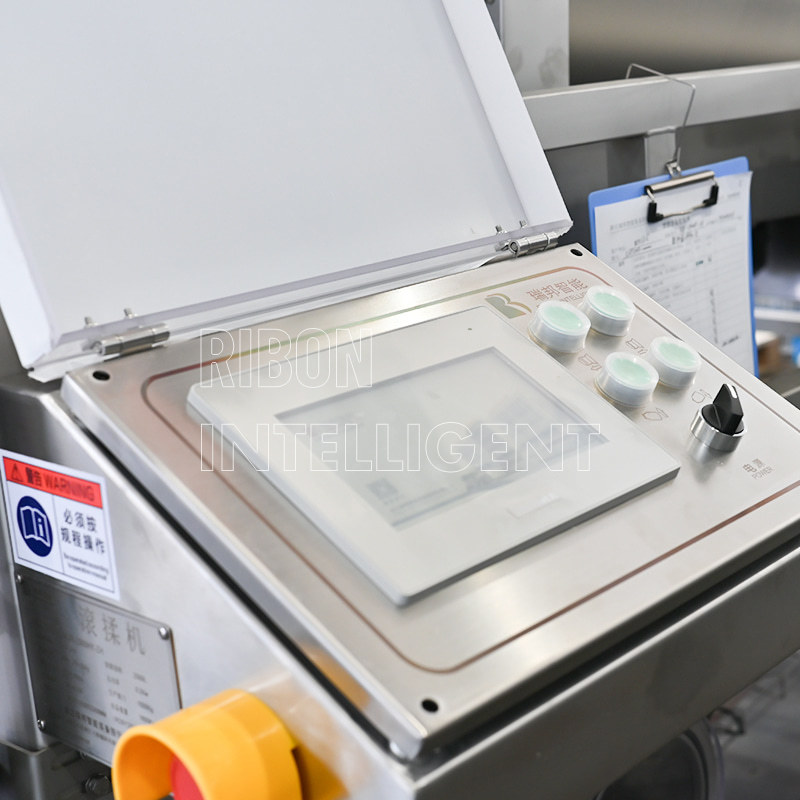
Before diving into the "how," let's briefly touch on the "what." An industrial meat tumbler is a large, rotating drum or barrel with internal paddles or baffles. It operates under a vacuum, which is a critical feature. The combination of gentle rotation, physical massage from the paddles, and the vacuum environment is what makes it so effective.
The vacuum pulls moisture, marinades, and brines deep into the muscle fibers. This process, known as tumbling or vacuum tumbling, causes the meat to swell and open up, increasing its capacity to absorb liquids. The mechanical action of the tumbler breaks down muscle fibers and connective tissue, which not only tenderizes the meat but also helps to distribute ingredients evenly. The result is a product with enhanced flavor, improved texture, and higher yield.
Step-by-Step Guide to Correct Tumbler Usage
Using an industrial meat tumbler correctly is a process that can be broken down into several key steps.
Step 1: Preparation is Key
-
Cleanliness First: Before loading any product, ensure the tumbler is thoroughly cleaned and sanitized. Cross-contamination is a serious food safety risk. Use food-safe cleaning agents and follow the manufacturer's guidelines for sanitizing the drum and all internal components.
-
Chill the Product: The meat should be cold, ideally between 34°F and 40°F (1°C and 4°C). Cold temperatures are crucial for food safety and also help the meat retain its shape and texture during the tumbling process.
-
Prepare the Brine/Marinade: All ingredients, including spices, salts, phosphates, and any other additives, should be fully dissolved or mixed into the liquid brine or marinade. For best results, the brine should also be chilled.
Step 2: Loading the Tumbler Correctly
-
Determine the Load Capacity: Never overload the tumbler. Most manufacturers specify a maximum load capacity, often as a percentage of the drum's volume (e.g., 50-60%). Overloading prevents the meat from moving freely, leading to uneven distribution of ingredients and reduced tenderization.
-
Add Ingredients in the Right Order: The meat should be loaded first, followed by the liquid marinade or brine. This ensures the liquid is distributed evenly as the drum begins to rotate.
Step 3: Setting the Tumbling Parameters
This is the most critical step and requires careful consideration of the product you are working with. The right settings depend on the type of meat, the desired outcome (e.g., tenderizing, brining, coating), and the specific tumbler model.
-
Vacuum Level: The vacuum level is typically measured in inches of mercury (Hg) or kilopascals (kPa). A higher vacuum will draw liquids into the meat more quickly and effectively. For brining and marinating, a strong vacuum is generally used.
-
Rotation Speed: The speed of the drum's rotation should be slow and gentle. The goal is to "massage" the meat, not to batter it. A speed that is too fast can damage the meat fibers, resulting in a mushy or undesirable texture.
-
Tumbling Time: The total tumbling time can range from 20 minutes to several hours, and even multiple cycles with rest periods in between. Short cycles are ideal for coating or light marinating, while longer cycles are necessary for full curing or deep brining.
-
Rest Periods: For some applications, it’s beneficial to incorporate rest periods. This involves running the tumbler for a set period, then allowing the meat to rest in the vacuum for a few minutes before starting another cycle. This allows the meat to fully absorb the liquid and relax.
Step 4: Unloading and Post-Tumbling Handling
-
Release the Vacuum: Once the cycle is complete, the vacuum must be slowly and safely released. Follow the manufacturer’s instructions to depressurize the chamber.
-
Proper Storage: The tumbled meat should be immediately removed from the drum and stored in a clean, chilled environment. It’s often best to let the product rest for a short period before further processing or packaging. This allows the liquids to fully equalize within the muscle fibers, leading to a more stable and consistent final product.
Troubleshooting Common Issues
Even with careful planning, issues can arise.
-
Uneven Flavor/Color: This is often a sign of incorrect loading or an overloaded drum. Reduce the batch size to allow for more free movement.
-
"Mushy" Texture: A mushy product is usually caused by excessive tumbling time, a rotation speed that's too fast, or an incorrect ratio of liquid to meat. Adjust these parameters and consider using a gentler tumbling cycle.
-
Brine/Marinade Not Absorbed: This could be due to a vacuum leak or insufficient tumbling time. Check all seals and gaskets on the tumbler and extend the tumbling cycle as needed.
Mastering the industrial meat tumbler is a skill that comes with practice. By focusing on proper preparation, understanding the key parameters, and paying attention to the unique needs of each product, you can consistently achieve superior results that will elevate your food production to the next level.