English
 русский
 Español
 عربى
عربىMaking great jerky requires more than just slicing and drying meat. The secret to tender, flavorful results lies in proper marination, and that's where a meat tumbler becomes an indispensable tool. A meat tumbler isn't just a convenience; it's a piece of equipment that uses vacuum and mechanical action to force marinade deep into the muscle fibers, dramatically accelerating the process and improving the final texture and flavor of your jerky.
Why Use a Meat Tumbler for Jerky?
Many people who make jerky at home skip the tumbling process, assuming a simple soak will do the trick. However, the vacuum and rotation of a meat tumbler provide several key advantages:
-
Faster Marination: Tumbling meat under a vacuum opens up the muscle fibers, allowing the marinade to penetrate in as little as 15-30 minutes, compared to the hours or even days required for traditional soaking.
-
Even Flavor Distribution: The constant, gentle rotation ensures every piece of meat is uniformly coated and infused with the marinade. This eliminates the bland spots you can sometimes get with static marination.
-
Improved Texture: The mechanical action tenderizes the meat, resulting in a more pleasant, less chewy jerky. This is particularly beneficial for tougher cuts of meat.
Step-by-Step Guide to Using a Meat Tumbler for Jerky
Here’s a breakdown of the process to get the best results for your homemade jerky:
1. Prepare the Meat: Start with a lean cut of meat like beef round, flank steak, or venison. Trim away all visible fat, as fat can spoil and shorten the shelf life of your jerky. For even drying, slice the meat into consistent strips, about 1/4 inch thick. For easier slicing, partially freeze the meat for about 30 minutes before cutting.
2. Create Your Marinade: A great marinade is the heart of your jerky. A basic recipe includes a base liquid (like soy sauce or Worcestershire sauce), a salt component, a sweetener (brown sugar or honey), and your desired spices (garlic powder, onion powder, black pepper, paprika, etc.). Mix your ingredients thoroughly to ensure everything is well dissolved.
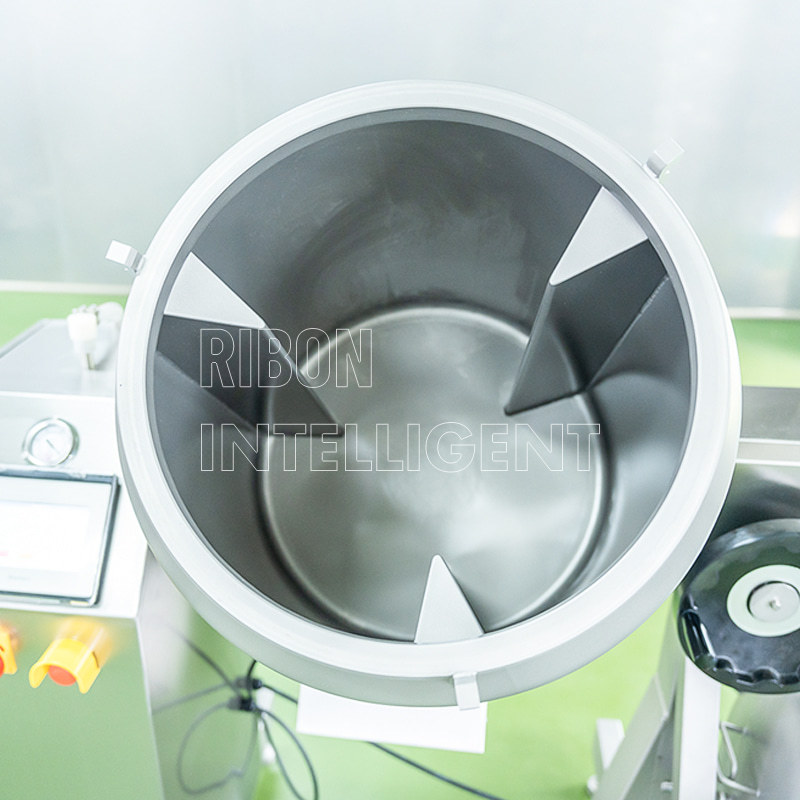
3. Load the Tumbler: Place your sliced meat and the marinade into the drum of the meat tumbler. Make sure not to overfill it; the meat needs room to move freely during the tumbling process. A general rule is to fill the drum about halfway with meat and add enough marinade to coat it.
4. Vacuum and Tumble: Securely seal the drum and connect it to the vacuum pump. Turn on the vacuum to remove the air. This is a critical step because the vacuum helps open the meat fibers. Once the vacuum is pulled, start the rotation. Let the meat tumble for the recommended time (usually 15-30 minutes, depending on the machine and the meat type). You will notice the meat absorb the liquid and change color.
5. Dry the Jerky: Once tumbling is complete, remove the meat from the meat tumbler. There's no need to rinse it off; simply pat any excess liquid from the surface with a paper towel. Arrange the strips on your dehydrator racks or oven grates, ensuring there is space between each piece for proper air circulation. Dehydrate according to your machine's instructions until the jerky is dry and pliable but not brittle.
Using a meat tumbler for jerky production is a game-changer. It elevates your homemade jerky from good to truly professional quality, delivering superior flavor and texture with a fraction of the time and effort.